


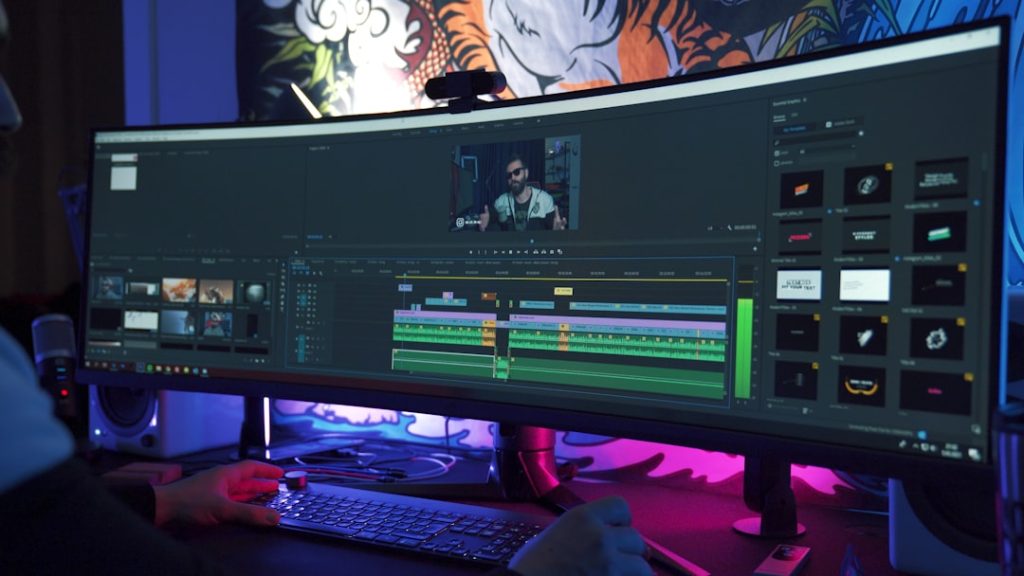
Use a video comparison tool when two clips look almost the same, but something feels off. It helps you check sharpness, color, motion, file formats, compression, and creative edits side by side. Think of it as a magnifying glass for footage. It saves your eyes, your time, and your sanity.
TLDR: Video Compor means comparing videos to find visual, technical, or creative differences. You can compare two exports, two camera angles, or two versions of an edit. For example, a wedding editor can check two color grades and spot a skin tone shift in under 2 minutes, instead of scrubbing through clips for 15 minutes. Teams often cut review time by 30% to 50% when they use side by side playback and frame matching.
What Is Video Compor?
Video Compor is a simple name for video comparison. It means placing two or more videos against each other to see what changed. One video may be the original. The other may be an edited version. Or both may be exports from different apps.
You can compare footage for many reasons:
- Quality: Is one clip sharper?
- Color: Did the skin tones turn orange?
- Motion: Is there stutter or blur?
- Format: Did compression crush the details?
- Creative edits: Did the final cut feel better?
It sounds nerdy. It is a little nerdy. But it is also very useful. Anyone who edits video will need it sooner or later.


Why Compare Videos?
Because your eyes lie after hour three.
You may think the new export looks fine. Then you compare it with the old one and see the sky has banding. Or the blacks are crushed. Or the logo looks soft. Great. Another export. Coffee helps.
Video comparison tools make these problems easier to catch. They show small changes that are hard to see during normal playback. This is handy for editors, filmmakers, YouTubers, teachers, marketers, and game capture creators.
Honestly, it feels silly to guess when software can show the difference frame by frame.
The Main Ways to Compare Footage
Most tools offer a few common viewing modes. Each one helps with a different problem.
- Side by side: Two videos play next to each other. Great for quick checks.
- Split screen: The left half shows one clip. The right half shows another.
- Overlay: One clip sits on top of the other. Useful for alignment.
- Difference view: The tool highlights changed pixels. Magic, but also mildly rude.
- Frame by frame: You step through each frame. Best for precise edits.
Side by side is the friendliest. Difference view is the strict teacher. It tells you everything. Even the tiny stuff.
Comparing Video Quality
Quality is not just “does it look good?” That is part of it. But there are smaller clues.
Look for these things:
- Sharpness: Fine details in hair, fabric, grass, and text.
- Noise: Grain in shadows or flat areas.
- Banding: Ugly steps in smooth gradients, like skies.
- Compression blocks: Square artifacts around motion.
- Color shifts: Skin looks green, red, or too gray.
- Brightness changes: One version looks darker for no good reason.
A good comparison tool lets you zoom in. That matters. A clip can look fine at normal size. Then you zoom to 200% and find the villain: mushy detail around text.
It drives me a little nuts when an export takes 40 seconds longer than usual, only to look worse than the first one. A quick comparison saves you from sending that version to a client.
Comparing Formats and Codecs
Formats can be confusing. MP4. MOV. MKV. AVI. Then come codecs like H.264, H.265, ProRes, and DNxHR. Fun names? Not really. Useful? Very.
The container is the file wrapper. That is MP4 or MOV. The codec is how the video is compressed inside that wrapper. That is H.264 or ProRes.
Two files can both be MP4. Yet one may look cleaner. Why? Different bitrate. Different codec settings. Different color handling.
When comparing formats, check:
- File size: Is the smaller file still good enough?
- Bitrate: Higher bitrate often means better detail.
- Playback speed: Does it lag on your device?
- Compatibility: Will it open on phones, browsers, and editing apps?
- Color range: Are blacks and whites displayed correctly?
For web video, H.264 in MP4 is still a safe pick. For editing, ProRes or DNxHR is often smoother. H.265 can make smaller files, but older machines may groan like a haunted printer.


Comparing Creative Results
Not every comparison is technical. Sometimes you just want to know which edit feels better.
Use video comparison for creative choices like:
- Color grade A vs color grade B
- Fast cut vs slow cut
- Original music vs new music
- Text on screen vs no text
- Close up shot vs wide shot
Creative comparison works well when you watch both versions with a goal. Do not just ask, “Which one is better?” That is too vague. Ask better questions.
- Which version feels clearer?
- Which one keeps attention longer?
- Which one feels more emotional?
- Which one matches the brand voice?
- Which one explains the idea faster?
For social videos, compare the first 3 seconds with extra care. That tiny opening can decide whether people stay or scroll away.
Features Worth Having
A solid video comparison tool does not need to be scary. It should help you see things fast.
Look for these features:
- Synced playback: Both videos start, stop, and scrub together.
- Frame match: You can compare the exact same frame.
- Zoom: You can inspect small details.
- Scopes: Waveform, vectorscope, and histogram views.
- Metadata view: Resolution, codec, frame rate, bitrate, and color space.
- Export reports: Good for teams and client notes.
Scopes sound scary. They are not. A waveform shows brightness. A vectorscope shows color. A histogram shows tonal spread. Think of them as tiny video doctors.
Free Tools vs Paid Tools
Free tools are fine for simple jobs. Many editors can compare clips with built in timelines. You can stack clips, crop half the screen, and play them together.
Paid tools usually add better syncing, visual difference modes, reports, and format analysis. They also tend to handle large files better. If you compare footage every week, paid software may save hours.
Expect to waste time on cheap tools that do not sync well. Even a delay of 3 frames can make motion comparison useless. That is enough to turn a clean shot into a confusing mess.
A Simple Workflow
Try this easy process:
- Choose your baseline. This is the original or approved version.
- Load the new version. Match frame rate and start time.
- Use side by side view. Watch the full clip once.
- Check problem areas. Look at faces, text, shadows, skies, and fast motion.
- Zoom in. Inspect fine details.
- Check metadata. Confirm resolution, codec, and bitrate.
- Make notes. Keep them clear and tied to timecodes.
This workflow works for client edits, YouTube uploads, ads, online courses, and short films.


Common Mistakes
People often compare videos the wrong way. No shame. Video is picky.
- Watching only once: You miss small glitches.
- Ignoring frame rate: Motion may look wrong.
- Comparing on a bad screen: Color checks become guesswork.
- Forgetting audio: Sync issues can hide in plain sight.
- Trusting thumbnails: A thumbnail tells you almost nothing.
Also, compare in the same viewing conditions. Same monitor. Same brightness. Same player if possible. Otherwise, you may blame the video when the screen is the real clown.
Final Takeaway
Video Compor is not just for tech people in dark rooms. It is for anyone who wants cleaner edits and fewer “wait, why does this look weird?” moments. Use it to compare quality, formats, and creative choices before you publish or send a final file.
If two versions look close, compare them. Your future self will be grateful. Your clients will complain less. And your final video will look sharper, cleaner, and more intentional.