Training manuals do not have to be boring bricks of paper. A good manual can feel clear, friendly, and even a little fun. It teaches people what to do, when to do it, and how not to panic. The trick is choosing the right format, binding, paper, design, and print quantity.
TLDR: Pick your manual format based on how people will use it. Use spiral binding for hands-on training, perfect binding for a polished look, and saddle stitch for short manuals. Keep the design simple, with clear headings, lots of white space, and useful visuals. Costs depend on page count, color, paper, binding, and quantity.
Why Printed Training Manuals Still Matter
Yes, we live in a digital world. People have phones. People have tablets. People also lose Wi-Fi, forget passwords, and open twelve tabs by accident.
A printed training manual is steady. It sits on the desk. It can be highlighted. It can survive coffee, meetings, and confused facial expressions. For workshops, onboarding, safety training, and technical lessons, print still works very well.
A printed manual also keeps everyone on the same page. Literally. That is rare and wonderful.

Choose the Right Manual Format
The format is the size and layout of your manual. This affects cost, comfort, and how easy it is to use.
1. Letter Size Manuals
Letter size is 8.5 x 11 inches. It is the classic choice. It works well for most training manuals.
- Great for text, charts, and screenshots.
- Easy to print and copy.
- Fits standard binders and folders.
- Good for office training and onboarding.
If you are not sure what to choose, start here. Letter size is the safe sandwich of printing. Not fancy. Always useful.
2. Half Letter Manuals
Half letter is 5.5 x 8.5 inches. It is smaller and easier to carry.
- Good for quick reference guides.
- Great for field workers.
- Works well for checklists and procedures.
- Feels neat and compact.
This format is best when people need to move around. Think warehouses, kitchens, clinics, or event teams.
3. Booklet Style Manuals
A booklet can feel more polished. It is often folded and stapled. This is best for shorter materials.
- Good for 8 to 48 pages.
- Nice for workshops and course handouts.
- Usually affordable.
- Easy to hand out in stacks.
Booklets are friendly. They say, “Do not worry. This will not take forever.”
Binding Options: The Manual’s Spine Personality
Binding holds the pages together. It also changes how the manual feels. Choose based on how people will use it.
Saddle Stitch Binding
Saddle stitch means folded pages with staples in the middle. It is simple and cost-friendly.
- Best for short manuals.
- Usually works for up to about 48 or 64 pages.
- Lays fairly flat.
- Fast to produce.
Use this for short training packets, workshop handouts, and welcome guides.
Spiral Binding
Spiral binding uses a plastic coil. It lets pages turn all the way around.
- Perfect for hands-on training.
- Lays flat on tables.
- Great for workbooks.
- Easy to use while typing or practicing.
This is the hero of manuals that get used during live training. It is practical. It is flexible. It does not complain.
Wire O Binding
Wire O binding is like spiral binding’s fancy cousin. It uses metal loops.
- Looks more professional.
- Lays flat.
- Good for premium courses.
- Costs more than plastic spiral.
Choose this when style matters, but function still matters too.
Perfect Binding
Perfect binding is the style used for paperback books. Pages are glued into a square spine.
- Looks polished and professional.
- Good for thicker manuals.
- Allows printing on the spine.
- Does not lay flat easily.
This is great for certification programs, employee handbooks, and formal training books.
Three Ring Binders
Binders are excellent when content changes often. You can add, remove, or replace pages.
- Best for large manuals.
- Easy to update.
- Can include tabs and dividers.
- Bulkier than other options.
Binders are not sleek. But they are powerful. Like a filing cabinet with confidence.
Paper Choices Made Simple
Paper changes the feel of the manual. It also affects price.
For inside pages, common choices include:
- 20 lb bond: basic, light, and affordable.
- 24 lb bond: smoother and better for text.
- 28 lb bond: nicer feel and less show-through.
- 80 lb text: premium, thicker, and great for color.
For covers, think stronger:
- 80 lb cover: sturdy and common.
- 100 lb cover: thicker and more durable.
- Laminated cover: protects against spills and heavy use.
If the manual will be used daily, spend a little more on paper and cover quality. If it is for a one-day session, keep it simple.
Color or Black and White?
Color printing looks better. It helps with diagrams, screenshots, charts, and safety warnings. It also costs more.
Black and white is cheaper. It works well for text-heavy manuals.
A smart option is mixed printing. Use black and white for most pages. Use color only where color helps. For example, print charts, maps, interface screenshots, and diagrams in color.
Do not use color just to decorate. Use color to explain.
What Affects Training Manual Printing Costs?
Printing costs can feel mysterious. But they usually come from a few basic things.
- Page count: More pages cost more.
- Quantity: Larger runs often lower the cost per manual.
- Color: Full color costs more than black and white.
- Paper type: Thicker or coated paper costs more.
- Binding: Spiral and perfect binding cost more than staples.
- Finishing: Tabs, lamination, covers, and inserts add cost.
- Turnaround time: Rush jobs usually cost more.
Here is a simple example. A short black and white stapled booklet will be cheap. A 200-page full-color spiral manual with tabs and a laminated cover will cost much more. No surprise there. It is the difference between a snack and a buffet.
How to Save Money Without Making It Ugly
You can control costs and still look professional.
- Remove blank or duplicate pages.
- Use black and white for text pages.
- Print in standard sizes.
- Choose saddle stitch for short manuals.
- Order in bulk when possible.
- Use a color cover with black and white inside pages.
- Avoid last-minute rush printing.
Also, proofread before printing. A typo on page 3 is annoying. A typo in 500 printed manuals is a tiny paper tragedy.
Design Best Practices for Training Manuals
Good design makes learning easier. It is not just decoration. It is a map for the brain.
Use Clear Headings
Headings help people scan. They also reduce panic. Use short section titles. Make the structure obvious.
Keep Paragraphs Short
Long walls of text are scary. Break ideas into small chunks. One idea per paragraph is a good rule.
Add Lists and Steps
Training often includes processes. Lists make processes easier to follow.
- Start with the goal.
- Show the steps.
- Add examples.
- Include a short review.
Use Images That Teach
Images should help the learner do something. Use screenshots, diagrams, icons, photos, and simple charts.
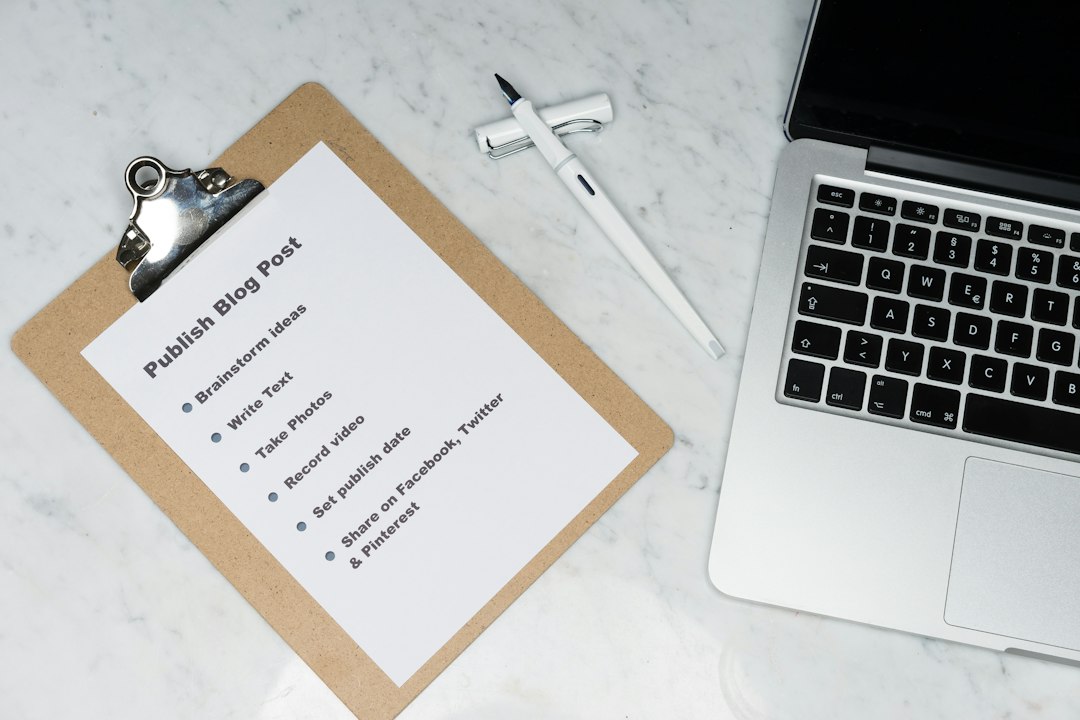
Add captions when needed. A good caption can save a lot of confusion.
Leave White Space
White space is empty space. It is not wasted space. It gives the reader’s eyes a place to rest.
If every inch of the page is packed, the manual feels stressful. Give your content room to breathe.
Use Consistent Styles
Make all headings look alike. Make all tips look alike. Make all warnings look alike. Consistency builds trust.
You can use simple labels like:
- Tip: for helpful shortcuts.
- Warning: for important risks.
- Example: for real situations.
- Practice: for learner activities.
Final Pre Print Checklist
Before you send your manual to print, check the basics.
- Are page numbers correct?
- Is the table of contents accurate?
- Are images high quality?
- Are margins wide enough for binding?
- Are colors readable when printed?
- Is the file saved as a print ready PDF?
- Has someone else proofread it?
Always print one proof copy if you can. Hold it. Flip through it. Check the cover, margins, page order, and binding. A screen cannot show everything.
Wrap Up
A great training manual is clear, sturdy, and easy to use. Choose the format based on the training setting. Choose the binding based on how people will handle the pages. Choose paper and color based on how long the manual needs to last.
Most of all, keep it simple. Short sections. Clear steps. Useful visuals. Friendly design. Do that, and your printed manual will not just sit there. It will teach.