Advanced Settings
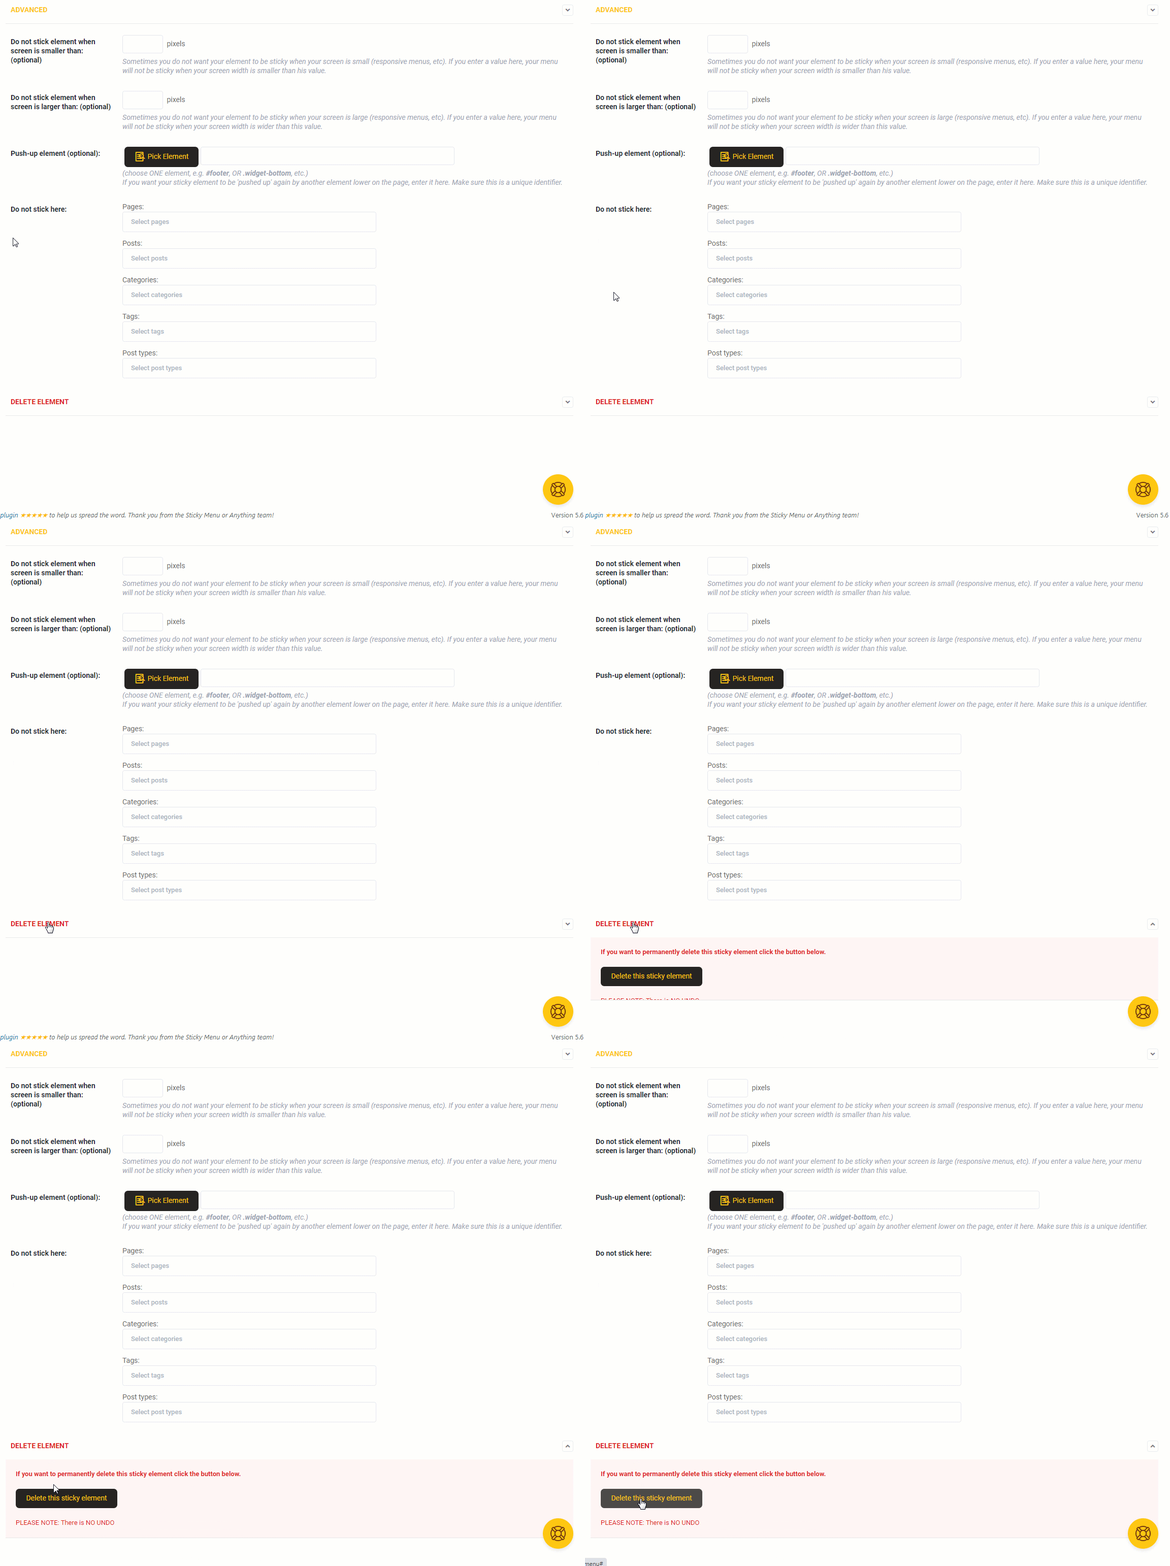
After setting the necessary options and customizing the visuals & behavior of your new sticky element, you might still want a few more options that will control the page.
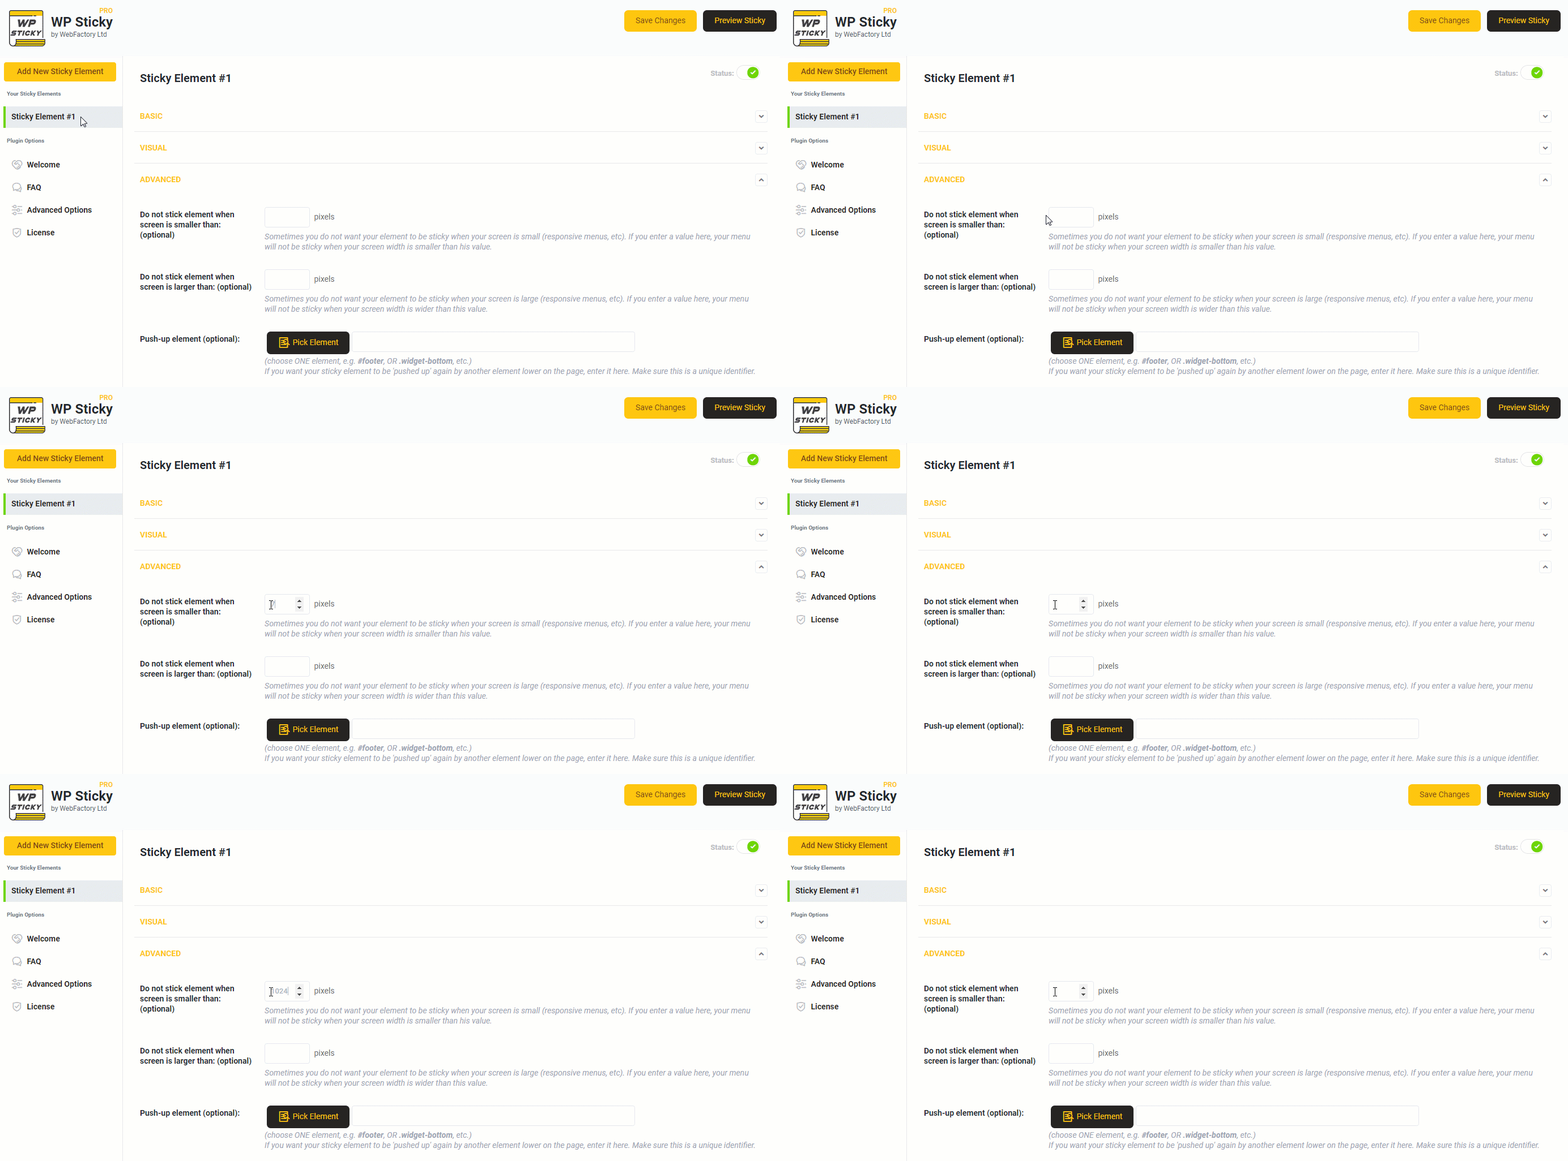
Do not stick element when the screen is smaller than: (optional)
Depending on your website’s layout, there may be times when you will not want an element to be sticky on smaller screens.
For example, if you transform your regular menu into a responsive one and do not want to make it sticky, this is the option to set. If you enter a value here, your menu will not be sticky when your screen width is smaller than this value.
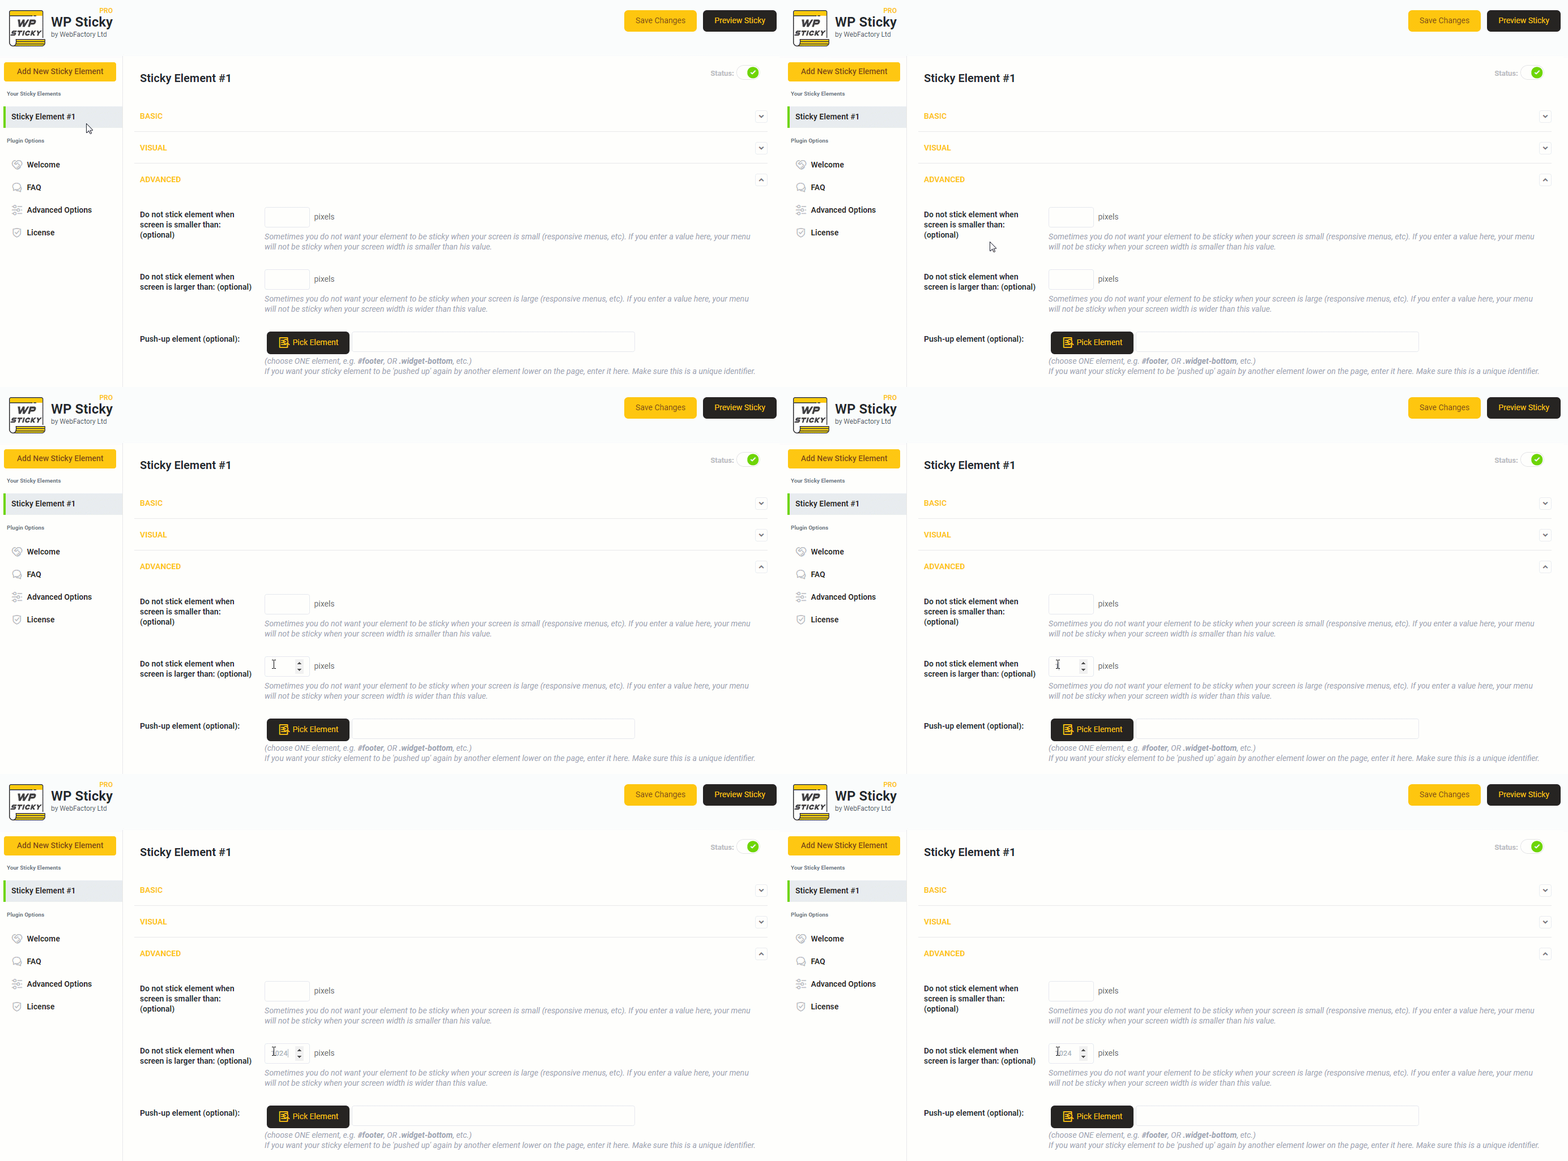
Do not stick element when the screen is larger than: (optional)
Similar to the previous option, you can control the stickiness of your element on larger screens.
Just enter any number in pixels, and the plugin will make sure that this element is not sticky if the screen’s width is more extensive than the provided number.
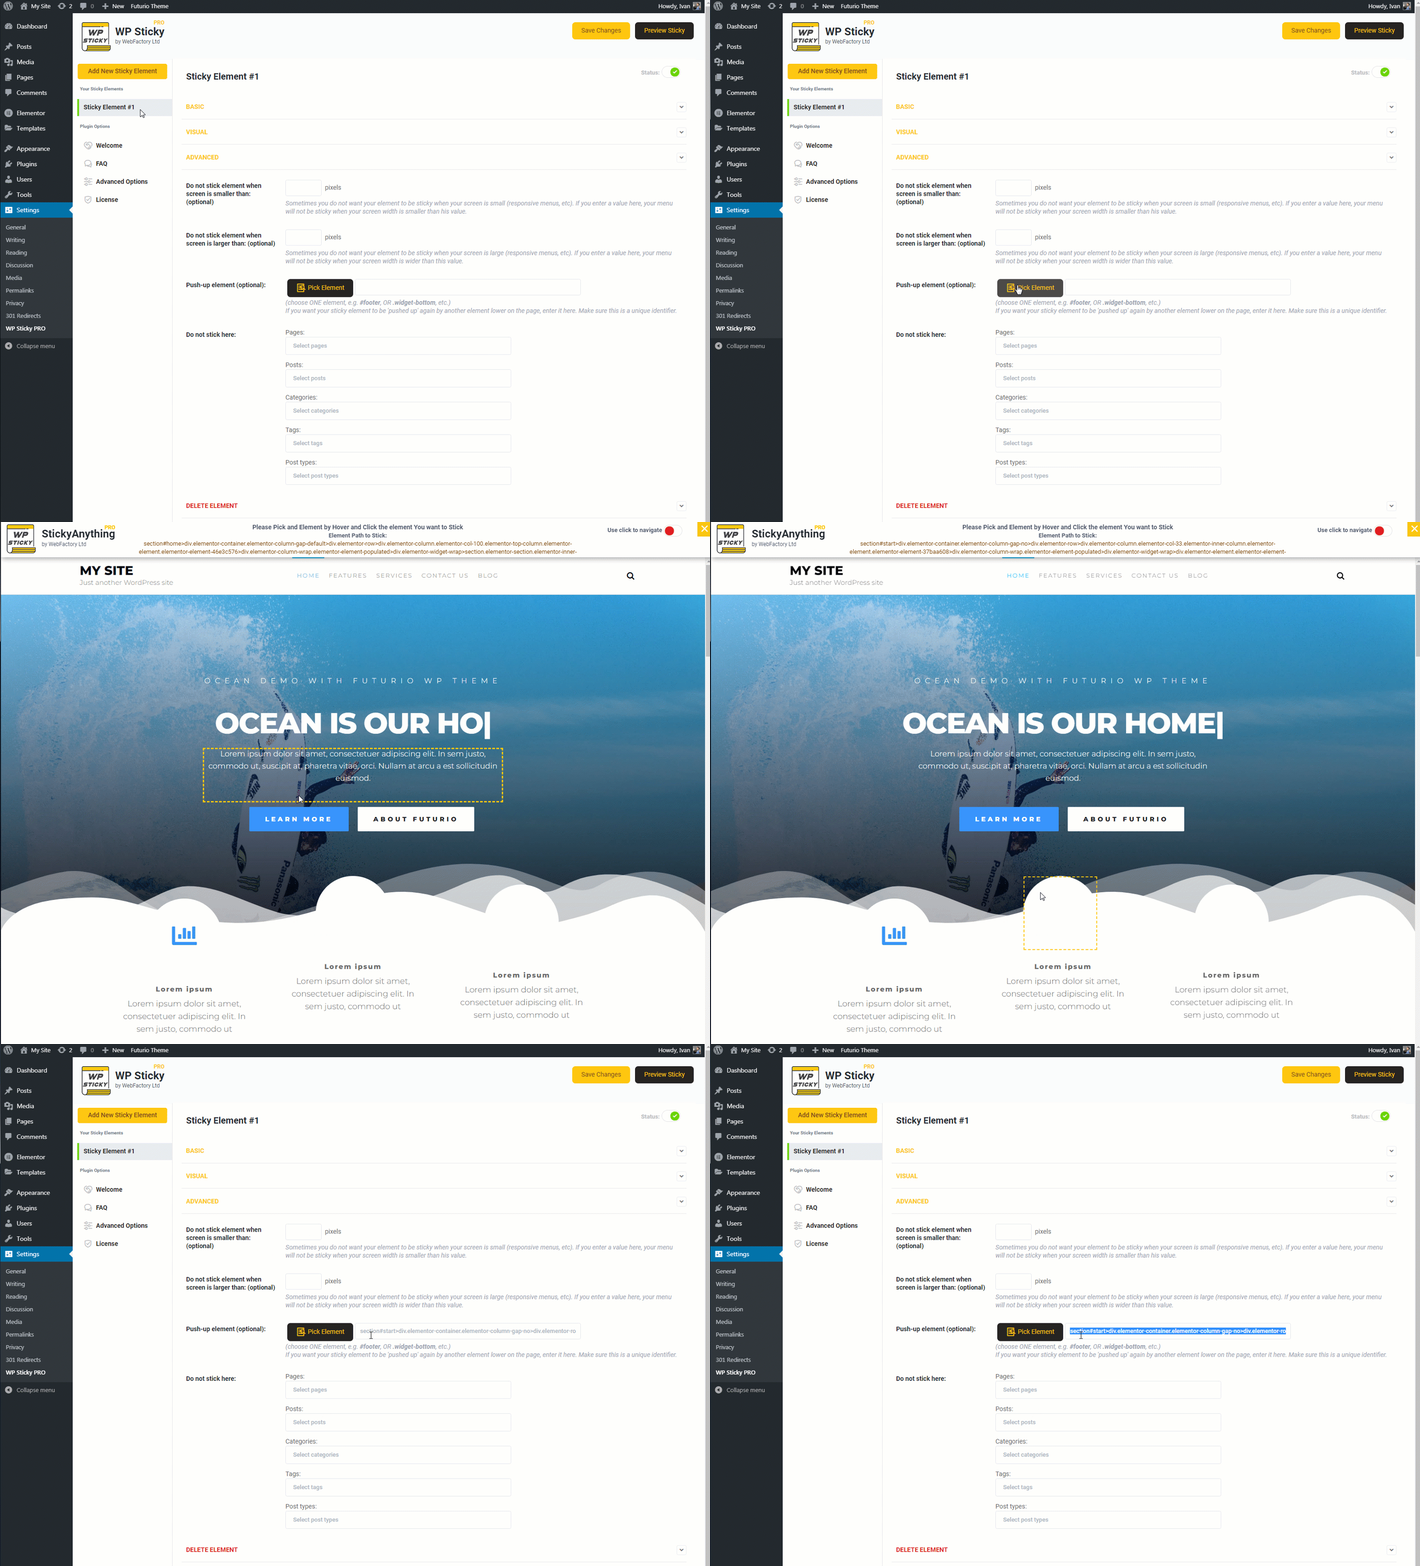
Push-up element (optional)
This option allows you to set the element that will trigger the action & move back the sticky item to its original position as soon as the user scrolls to it.
For example, if you made your menu sticky, it will always be visible on the top of the screen no matter how far you scroll. But suppose you choose an element (let’s say an image on your homepage) as your push-up element. Now, as soon as someone scrolls down to that image, the sticky element (your menu in this example) will automatically be pushed back up to its original position.
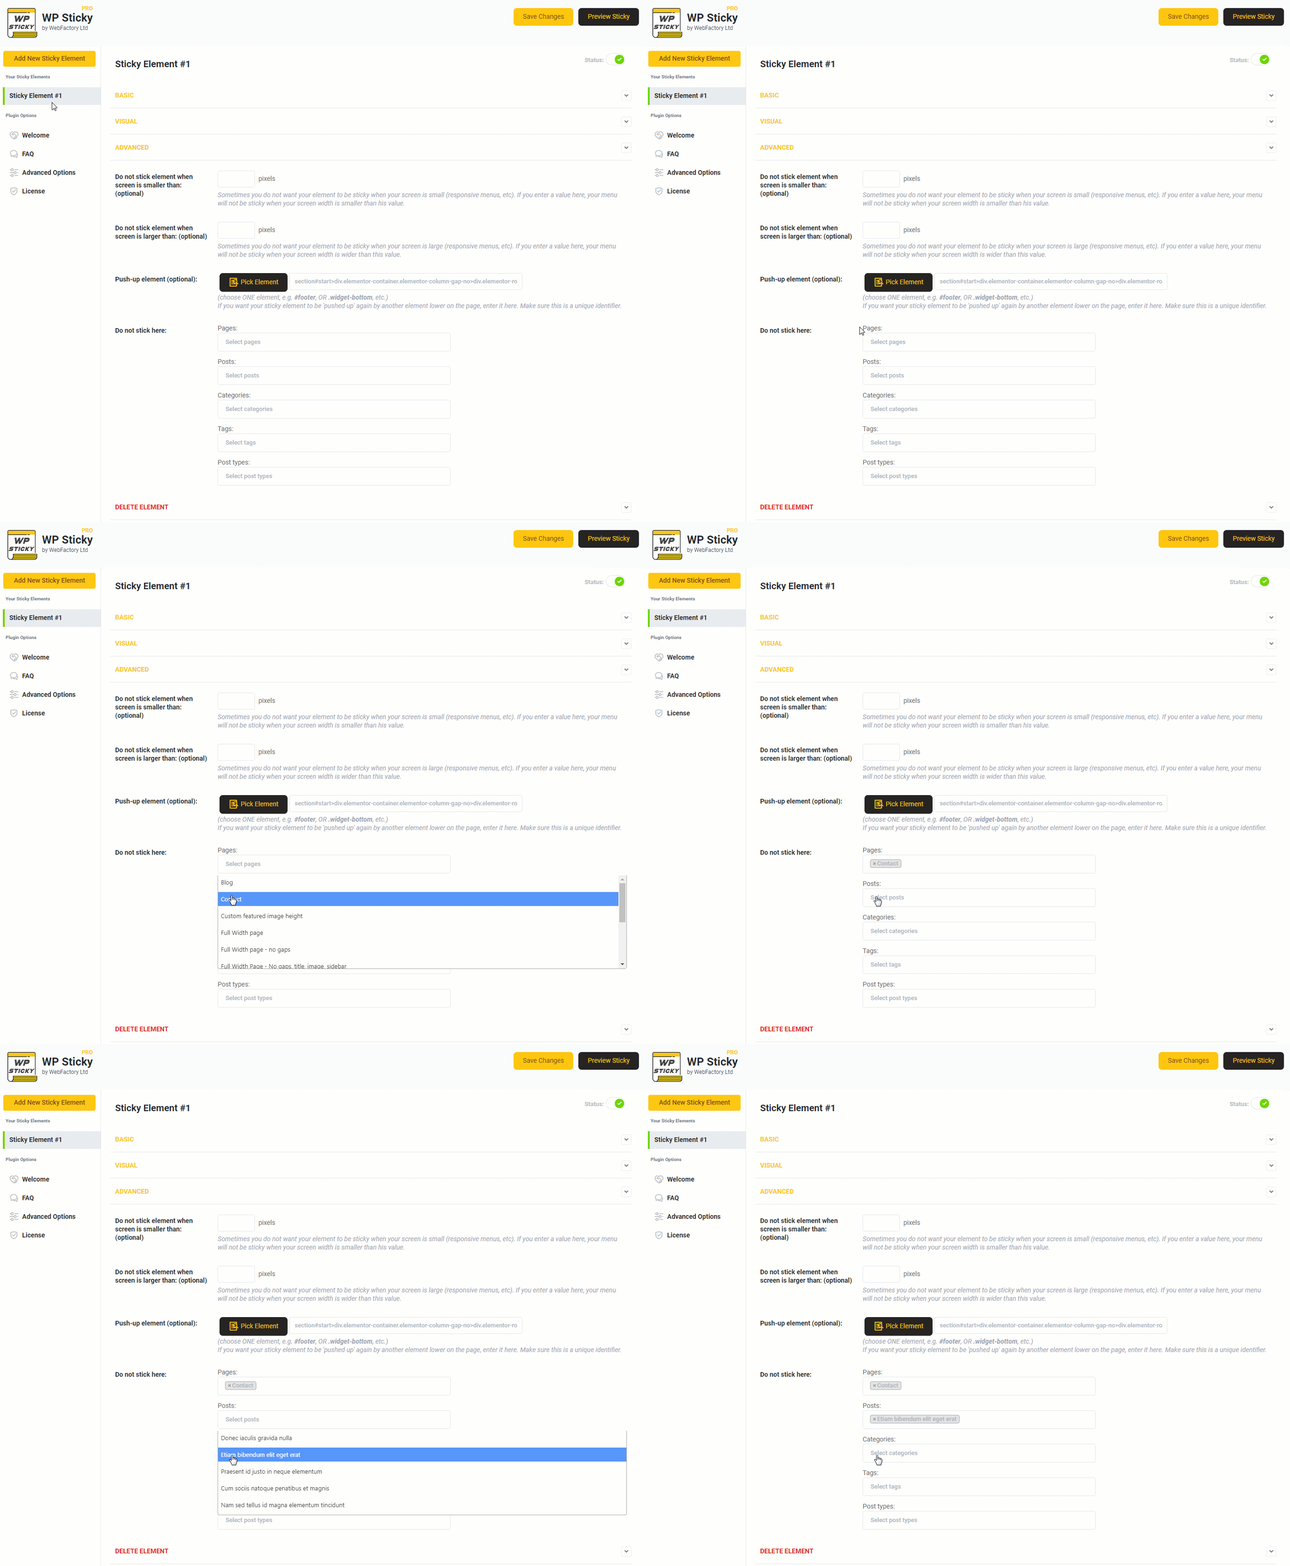
Do not stick here
If you do not set any other than basic options, your sticky element will behave the same way on all pages of your site. If you would like to make exceptions to the rule, you can choose specific pages, posts, categories, tags, or post types that won’t be affected by the plugin.
For example, if your blog is different from the homepage, just select the page representing your blog here, and the sticky element will not be sticky on your blog.
Delete Element
Although any sticky element you create with WP Sticky can be deactivated (so you can easily activate it anytime in the future), you might want to delete a specific element from the list.
To do so, click on the “Delete” button, and confirm that you want to remove this element’s settings. Although this is not reversible, you can always recreate the element by adding a new one.
Still not able to make it work?
Use the contact widget in the plugin’s lower-right corner to contact support.
