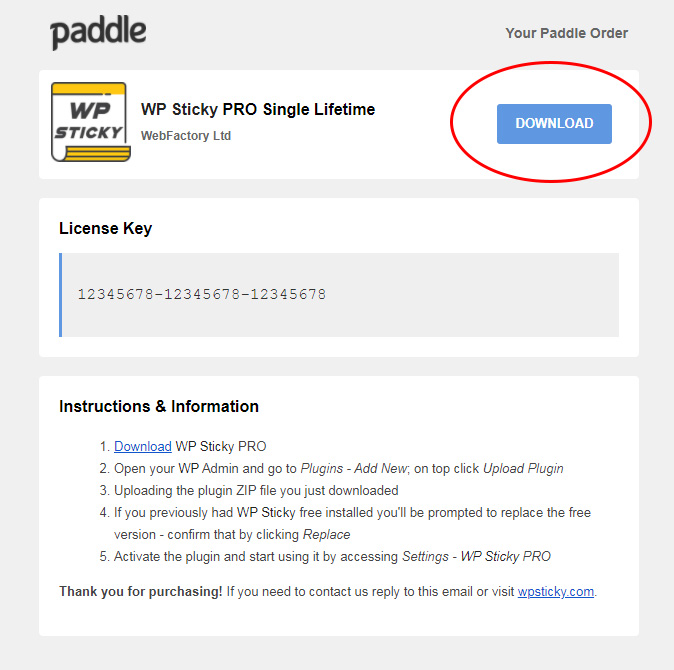
How to Install & Activate the Plugin
After a successful purchase, you will receive two emails.
- The first one will let you know that the payment went through and will hold your receipt.
- The second email will contain your unique license key & download link where you will be able to get the necessary ZIP files for the installation.
Instructions & Information
- Download WP Sticky PRO by clicking on the “Download” link from your email.
- Open your WP Admin and go to Plugins -> Add New; on top, click Upload Plugin.
- Upload the plugin ZIP file you just downloaded.
- If you previously had WP Sticky free installed, you’ll be prompted to replace the free version. Confirm that by clicking Replace.
- Activate the plugin.
- Go to Settings -> WP Sticky PRO and enter your license key.

STEP 1 - Download
Download WP Sticky PRO by clicking on the "Download" link from your email.

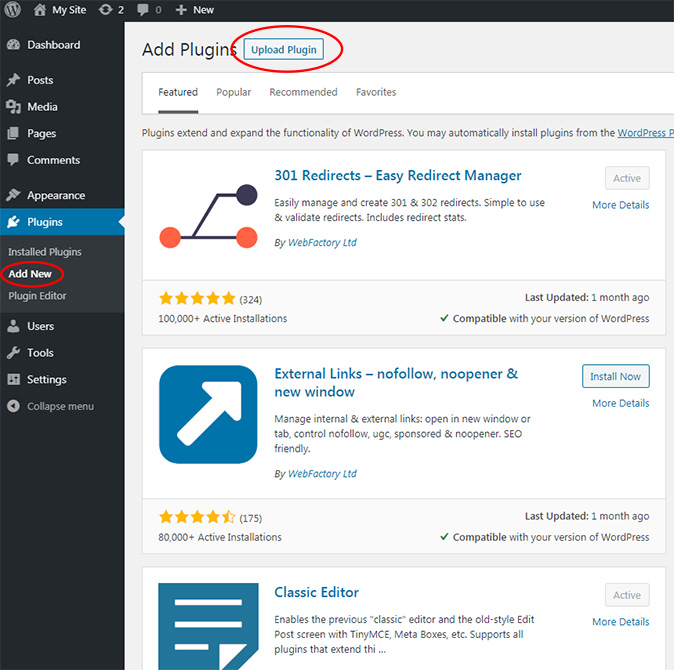
STEP 2 - Add & Upload
Open your WP Admin and go to Plugins -> Add New; on top click Upload Plugin.

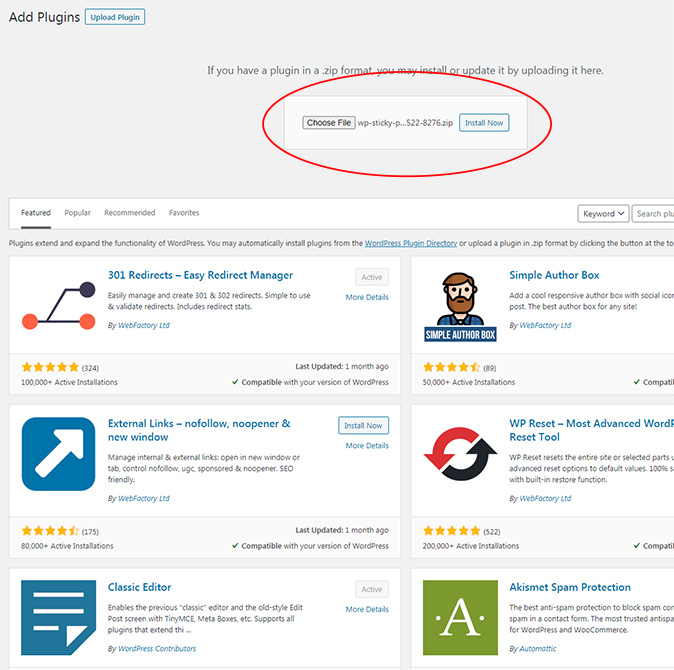
STEP 3 - Upload the Plugin
Upload the plugin ZIP file you just downloaded and click on the "Install Now" button.

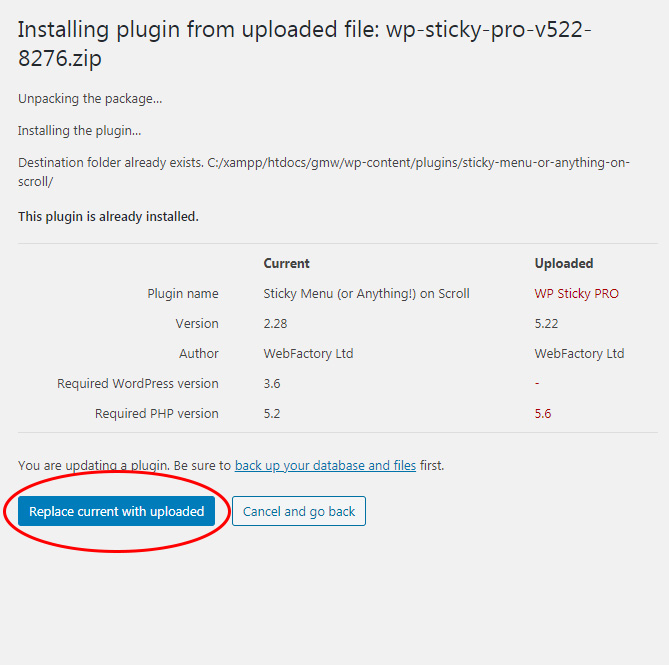
STEP 4 - Replace the Free Version
If you previously had WP Sticky free installed you'll be prompted to replace the free version - confirm that by clicking Replace.
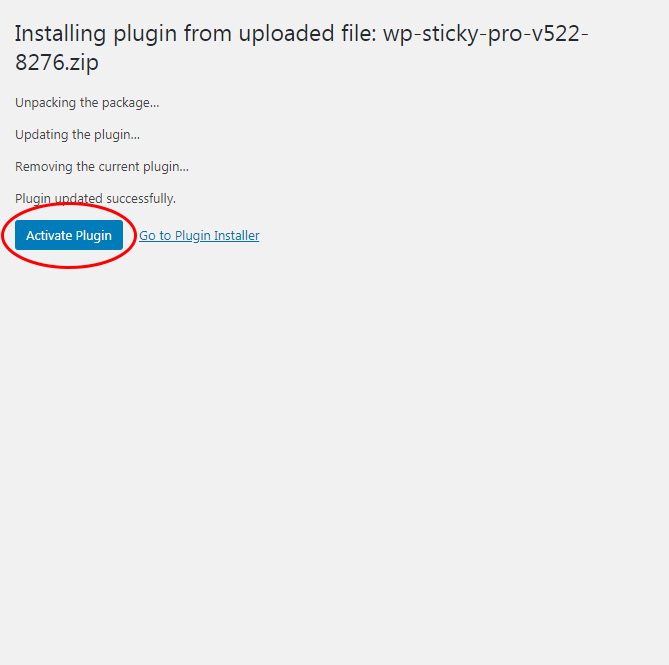
STEP 5 - Activate
Activate the plugin and start using it by accessing Settings -> WP Sticky PRO.

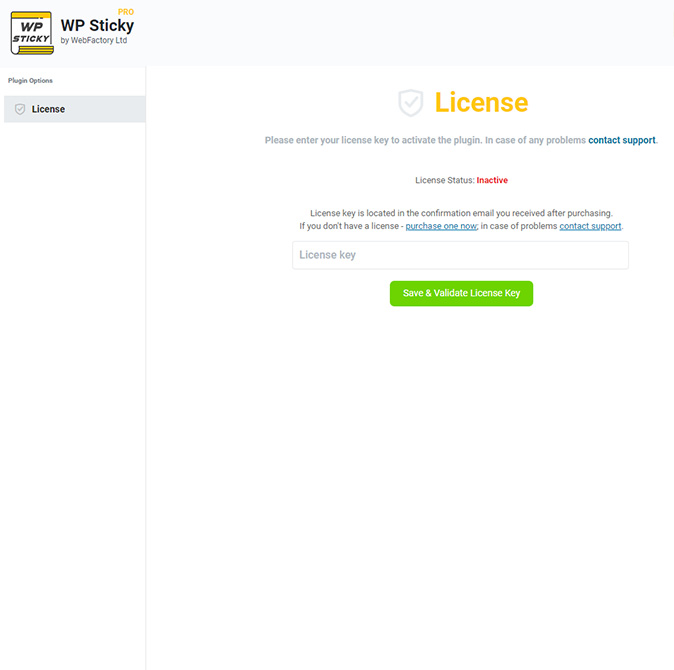
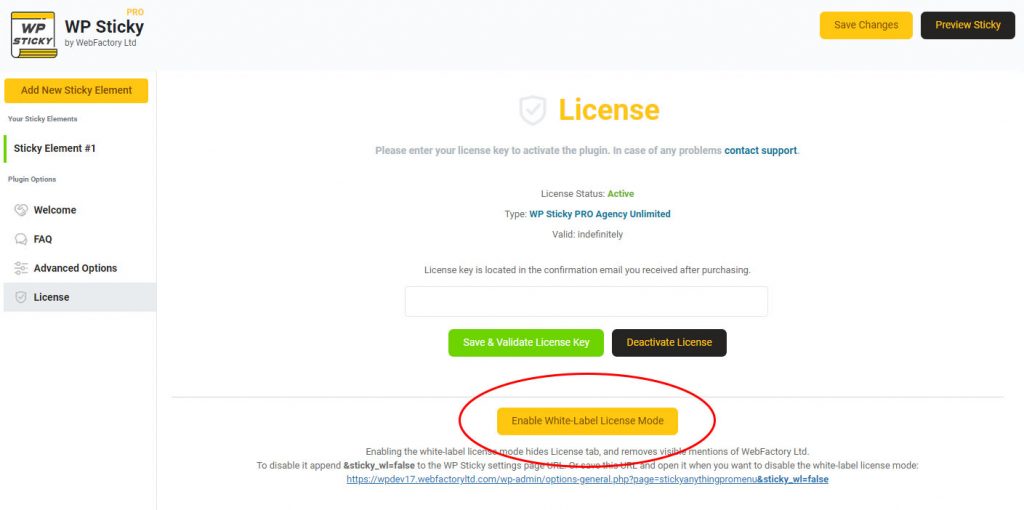
STEP 6 - Enter the License Key
Go to Settings -> WP Sticky PRO and enter your license key.
Still not able to make it work?
Use the contact widget in the plugin’s lower-right corner to contact support.