Example: Sticky Widget
On this page, you can see a sticky widget in action. We copied the widget we currently have in the documentation so you can see a real example.
How did we create a sticky widget?
- For this purpose, we created a new sticky element with WP Sticky.
- We gave it a name and clicked the “Pick Element” button.
- Then, we selected the widget,
- and saved changes.
Here are a few more examples you can check:
If you the above, you can be done in less than a minute. But if you are interested in more options, here’s what you can do with you sticky element.
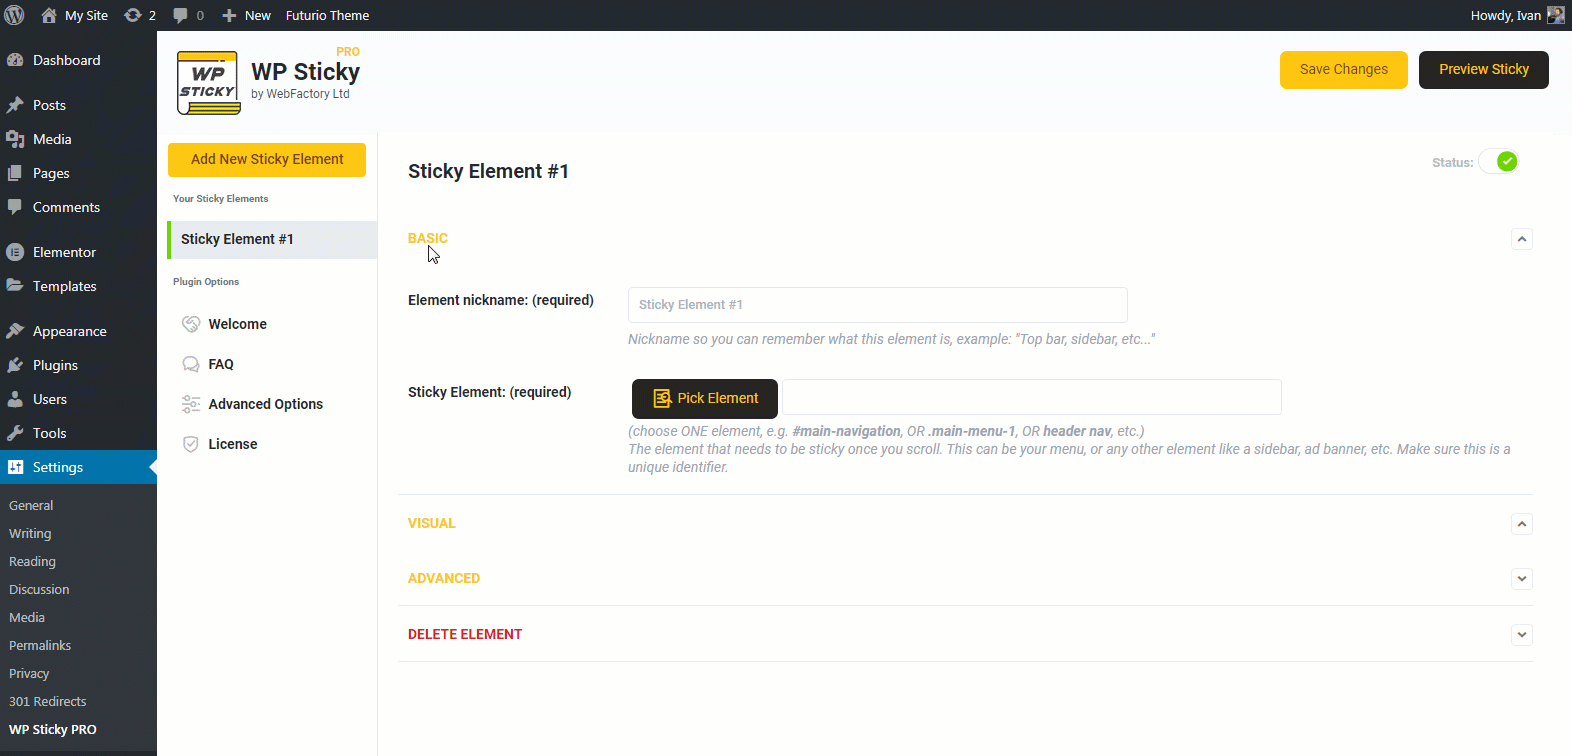
After installing and activating your copy of the WP Sticky Pro plugin, you’re finally ready to create your first sticky element.
- Go to Settings -> WP Sticky Pro.
- In the upper-left corner, click on the “Add New Sticky Element” button.
Basic Options
Before customizing your sticky element’s looks & behavior, you will first have to give it a name. So, under the Basic Options tab, write down the nickname of your element.
This can be anything that will help you identify it later when you might have dozens of active and inactive sticky elements. For example, if you are making your menu sticky, you can name it something like “My Top Menu.”
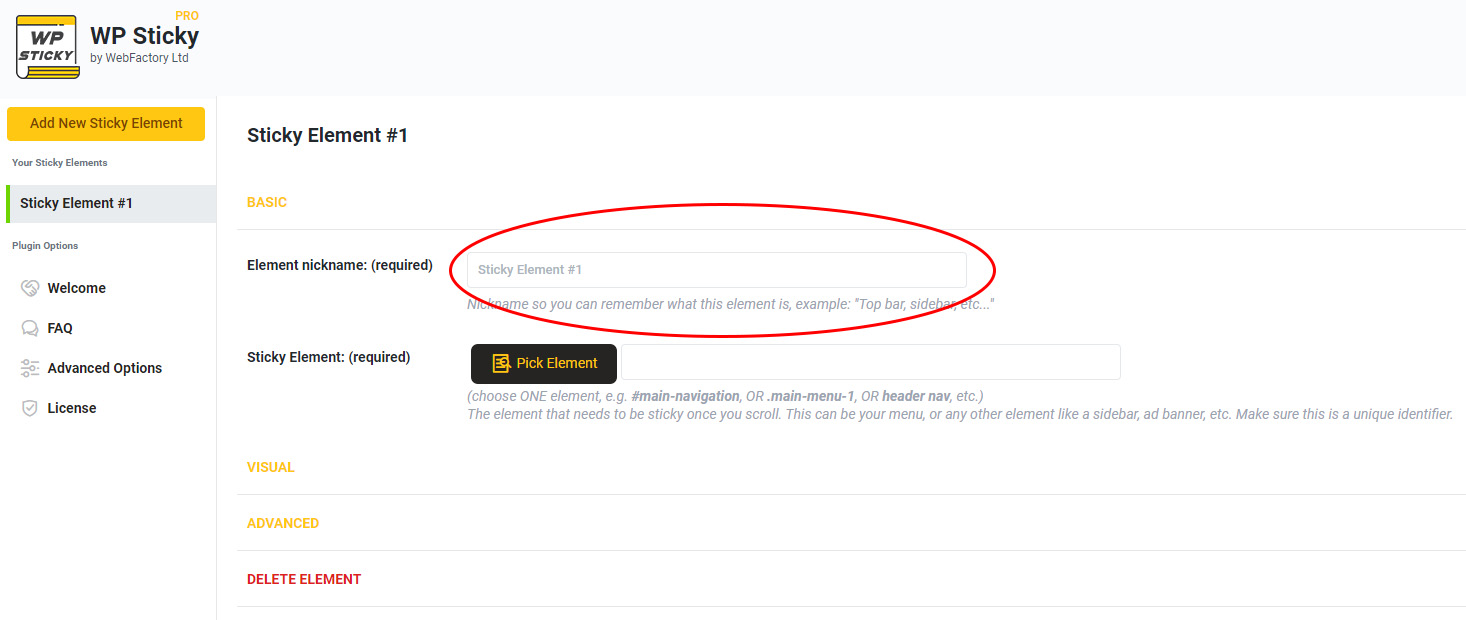
The other step is to isolate the element and tell the plugin where to look. There are two ways of picking your element:
Visual Picker
There is no need for manually searching for identifiers. Just go to the Basic Settings tab, and click on the “Pick Element” button.
The plugin will then load your website with the WP Sticky menu on top. If you move around your site, you will notice the strange lines around elements. This is the way to that plugins helps you find the identifier you want to make sticky.
Move around the page until you find the element you want to be sticky. Once you have isolated one, simply click on it. The plugin will recognize the unique identifier and write it down for you. Don’t forget to save changes from the upper-left corner of the screen.
Write the unique identifier
If you already know the unique identifier of the element you want to make sticky, you don’t have to use the Visual Picker. Just write it down by yourself.
Visual Options
Once you have selected the element, it is time to customize its looks & behavior.
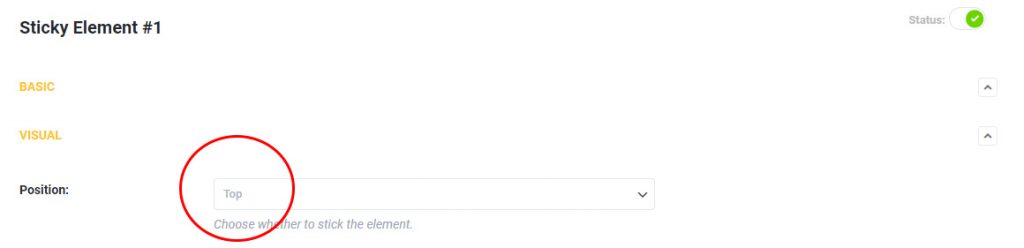
Position
You can choose to stick the element on the top or bottom of the page.
Stick to bottom after user scrolls
This option will be visible only when you selected the bottom position from the above option.
Depending on your page’s layout, you might want to change the position based on user behavior. This option allows you to select the number of pixels or percentage users have to scroll before the element sticks to the bottom. This option can help you avoid clutter on the website and control the sticky element the way you want.
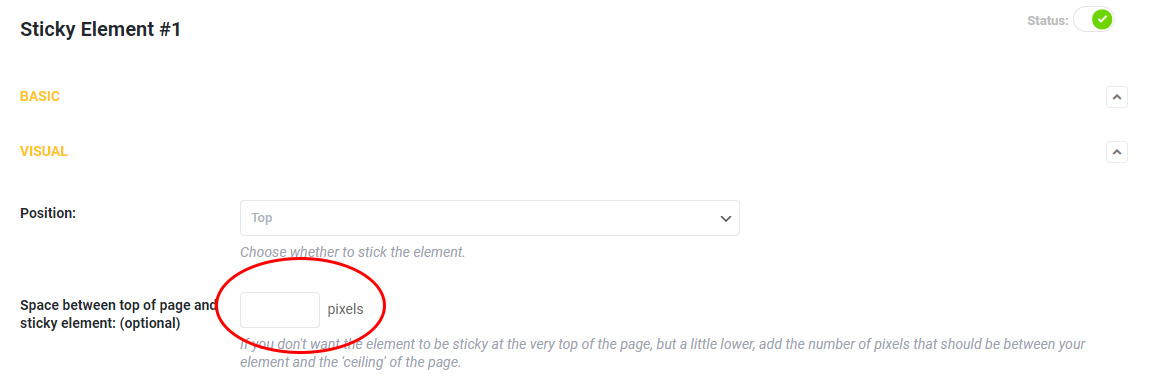
Space between the top of the page and sticky element: (optional)
Sometimes, while scrolling, an element may appear too close to the top of the page. To move it away from the top, simply enter the number of pixels in this field.
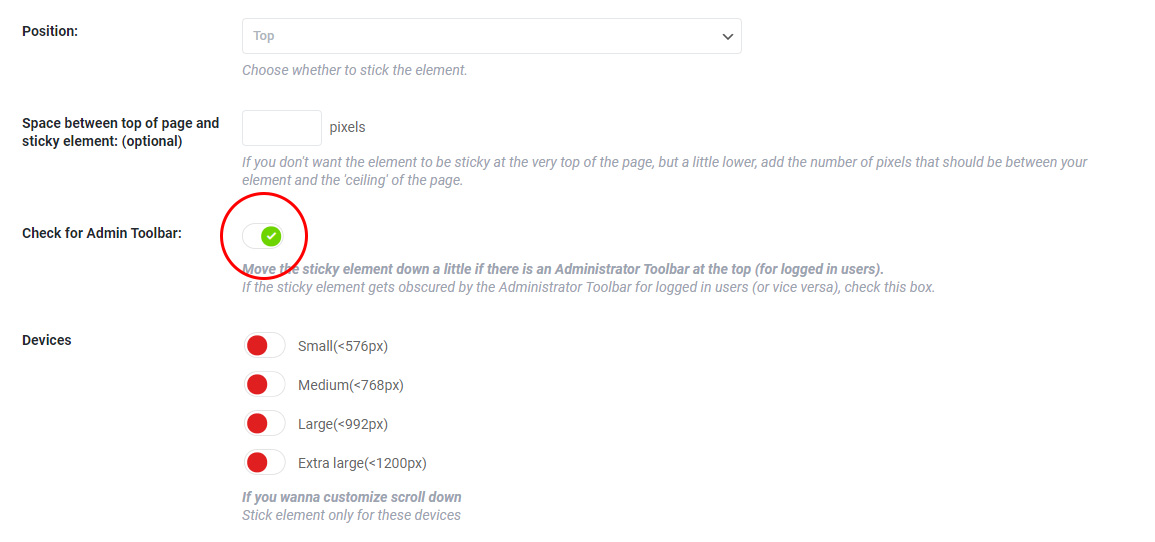
Check for Admin Toolbar
If the sticky element gets obscured by the Administrator Toolbar for logged in users, check this box. This will let logged-in users have the same experience as the non-logged ones.
We know the Admin bar’s height, so there’s no need for entering the details; just turn on the option if necessary.
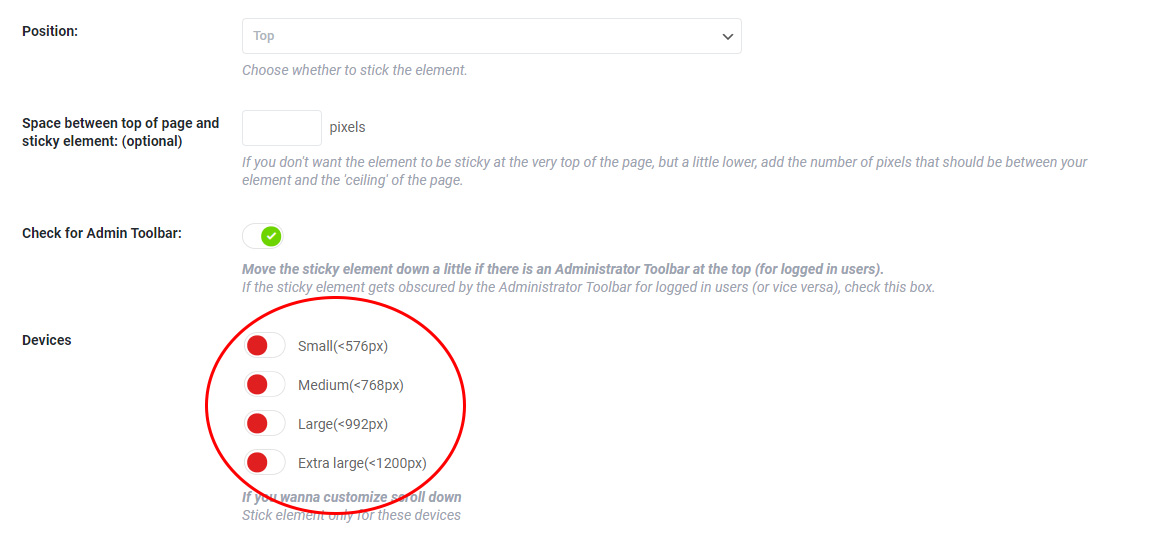
Devices
You do not have to make your element sticky on all devices. For example, maybe you want your such behavior only on the desktop computer and render it normal for smartphone users.
Simply turn on/off the options you want here.
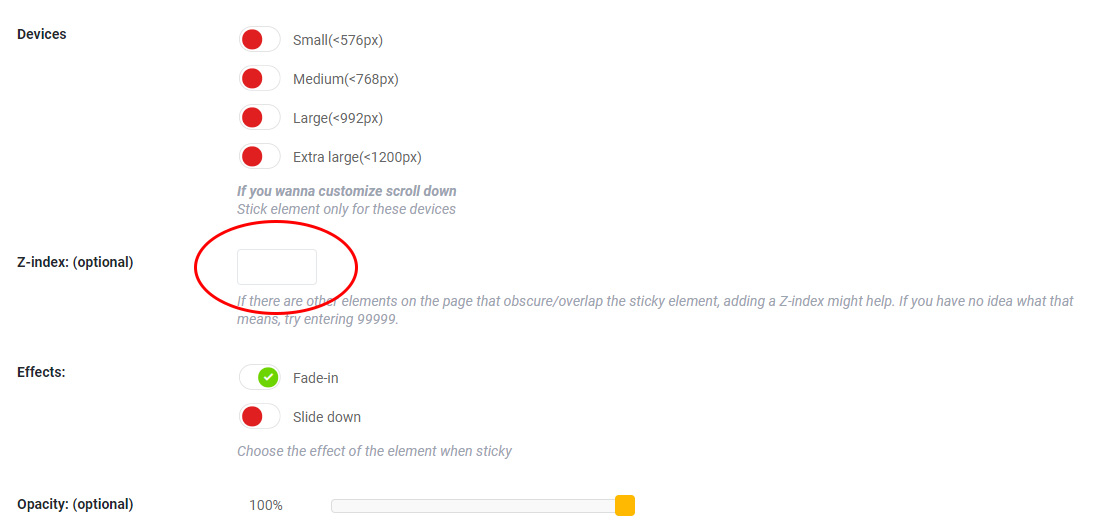
Z-index: (optional)
This CSS option controls the vertical stacking order of elements that overlap. If your sticky element shows behind other parts of the site, you will want to increase the Z-index.
If you want to make sure that the sticky element always stacks on top, set the Z-index to 99999.
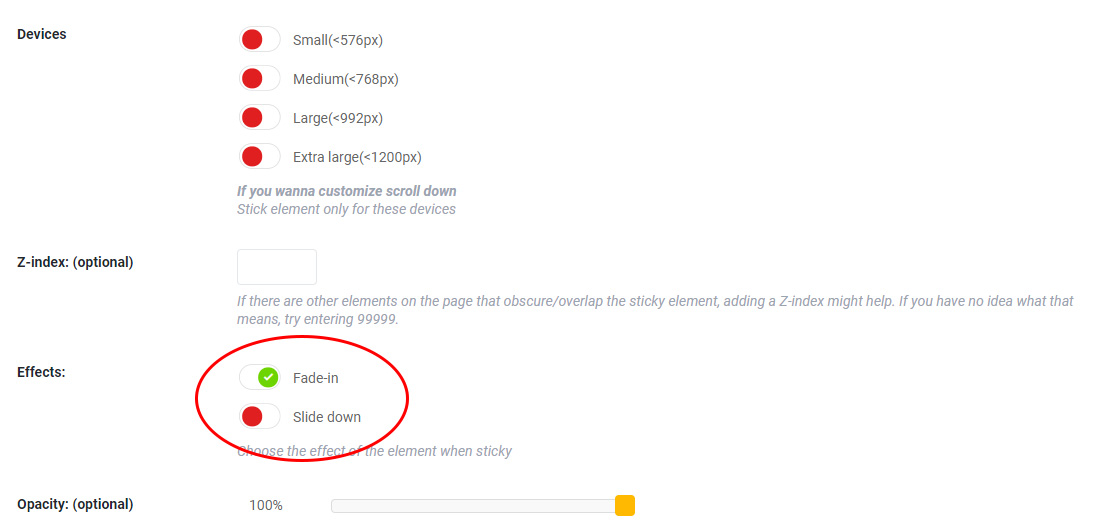
Effects
Choose the effect of the sticky element. It can fade in or slide down. We suggest trying both options to see them in action.
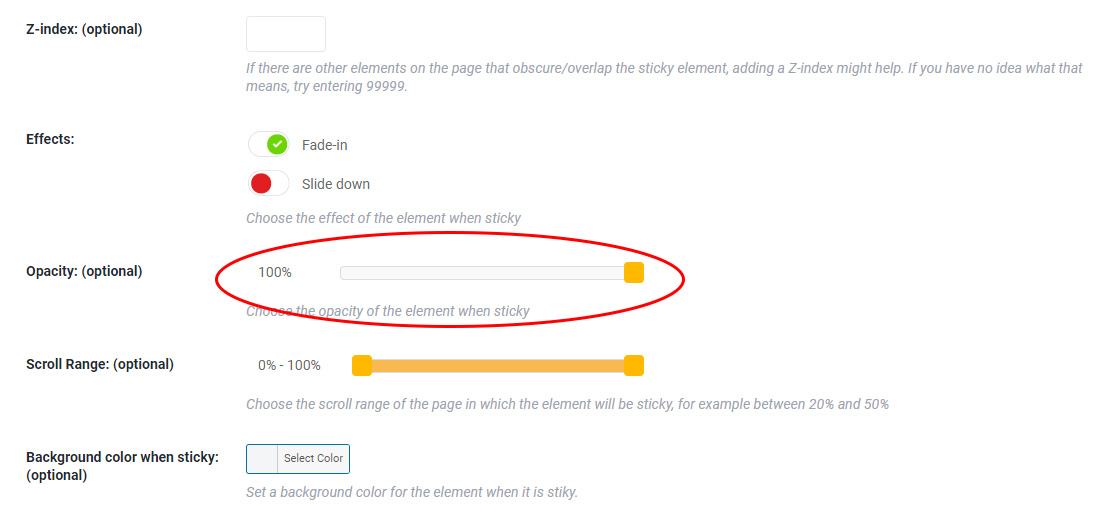
Opacity: (optional)
Move the slider left to right to make the sticky element more or less transparent.
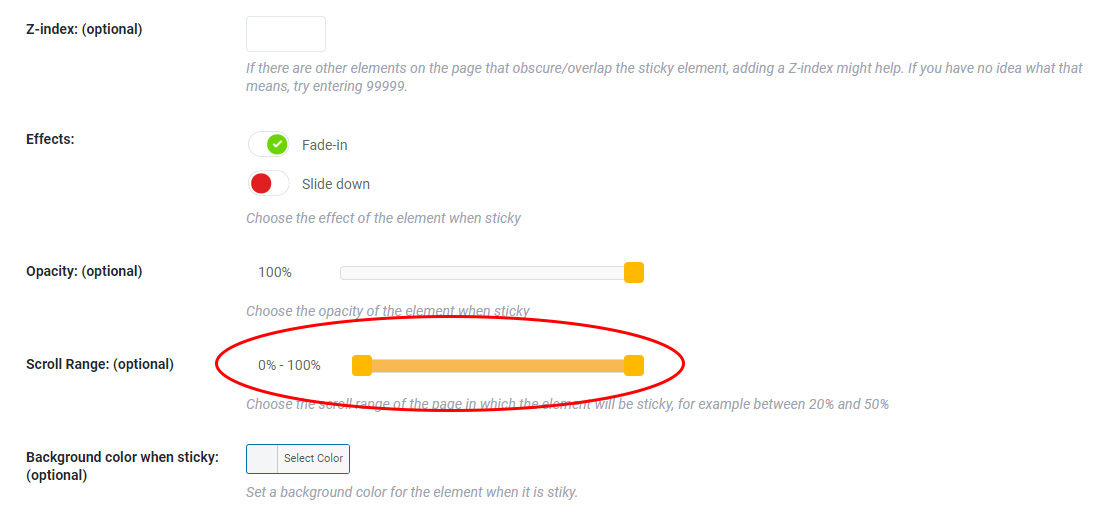
Scroll range: (optional)
By moving the slider left to right, you can set the part of the page where this element will become sticky.
For example, if you set this option to “20-50”, the element you’re modifying will become sticky only after a user scrolls past 20% of your page’s height. The element will remain sticky until 50% of the page’s height, after which it will restore its original value.
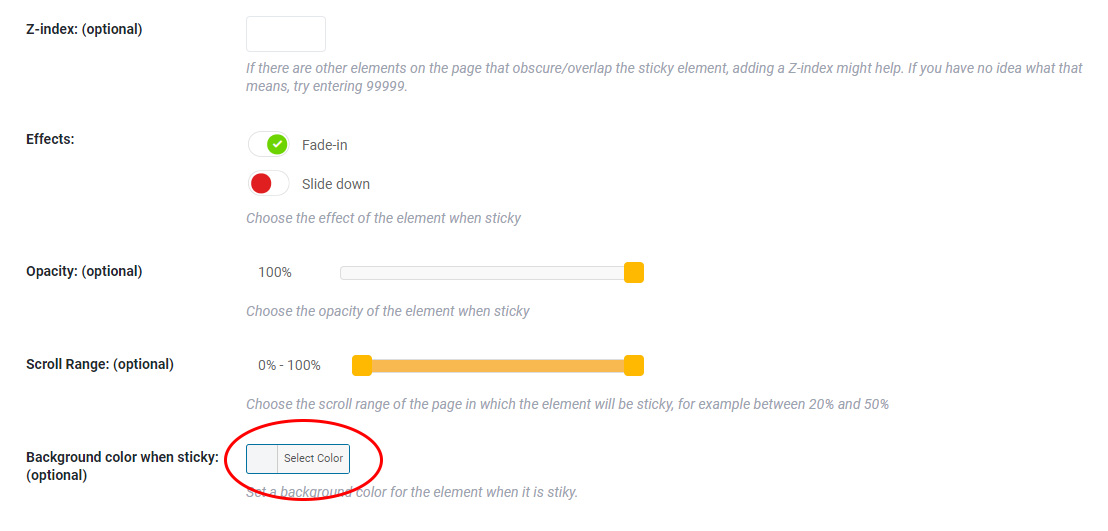
Background color when sticky: (optional)
Sometimes, a sticky element may become less visible on specific pages. In that case, you can give it a background color. Just click on the color picker button, and choose the desired color.
Custom CSS when sticky: (optional)
Want more visual changes applied to a sticky element? This is the place to add custom CSS.
Do not wrap the styles in any selector. Instead of .classname{color:#FFF;} just write color:#FFF;
